

- GTA V Chop Guide - January 8, 2023
- Pegassi Infernus Guide - January 6, 2023
- Dinka Blista Kanjo Guide - January 6, 2023
The Criminal Enterprises update is the most prominent highlight when it comes to GTA Online content in 2022 – it has certainly filled much of the void left behind by last year’s The Contract DLC. As you may have expected, it is packed with new missions, where some are completely original while others are cool additions to already existing job-givers. In totality, with these missions, the new vehicles, weapons, properties, and discounts really drive the update towards a satisfactory completion.
While going in-depth on the entirety of the update is frankly too much for the scope of one Operation Paper Trail guide, I will only focus on a new storyline introduced as part of it, which is known as Operation Paper Trail.
Operation Paper Trail Overview
Remember Agent ULP (real name Bernard) from the Doomsday Heist? It’s impossible to forget him due to how both Acts 2 and 3 of the heist are centered around rescuing him from the Russians and safely delivering him to the IAA – quite the annoying set of missions for an equally annoying guy. Much like me, if you didn’t like him back then, you aren’t going to like him now because he’s going to be spearheading Operation Paper Trail!
So how does the operation itself begin? Similar to how he made his appearance in the Doomsday Heist, Bernard abruptly rings you out of nowhere. He motivates the conversation by talking about the nation’s inflation in oil (which doesn’t affect you since you’re probably filthy rich), adding that only the IAA knows what’s actually behind it. However, he won’t clue you in on it since the whole point is to ultimately recruit you for the job.
As such, he offers you to work on the case for the IAA as a special field operative. Should you choose to accept and start Operation Paper Trail, you are to head to IAA Headquarters in Pillbox Hill.
Mission #1: Intelligence
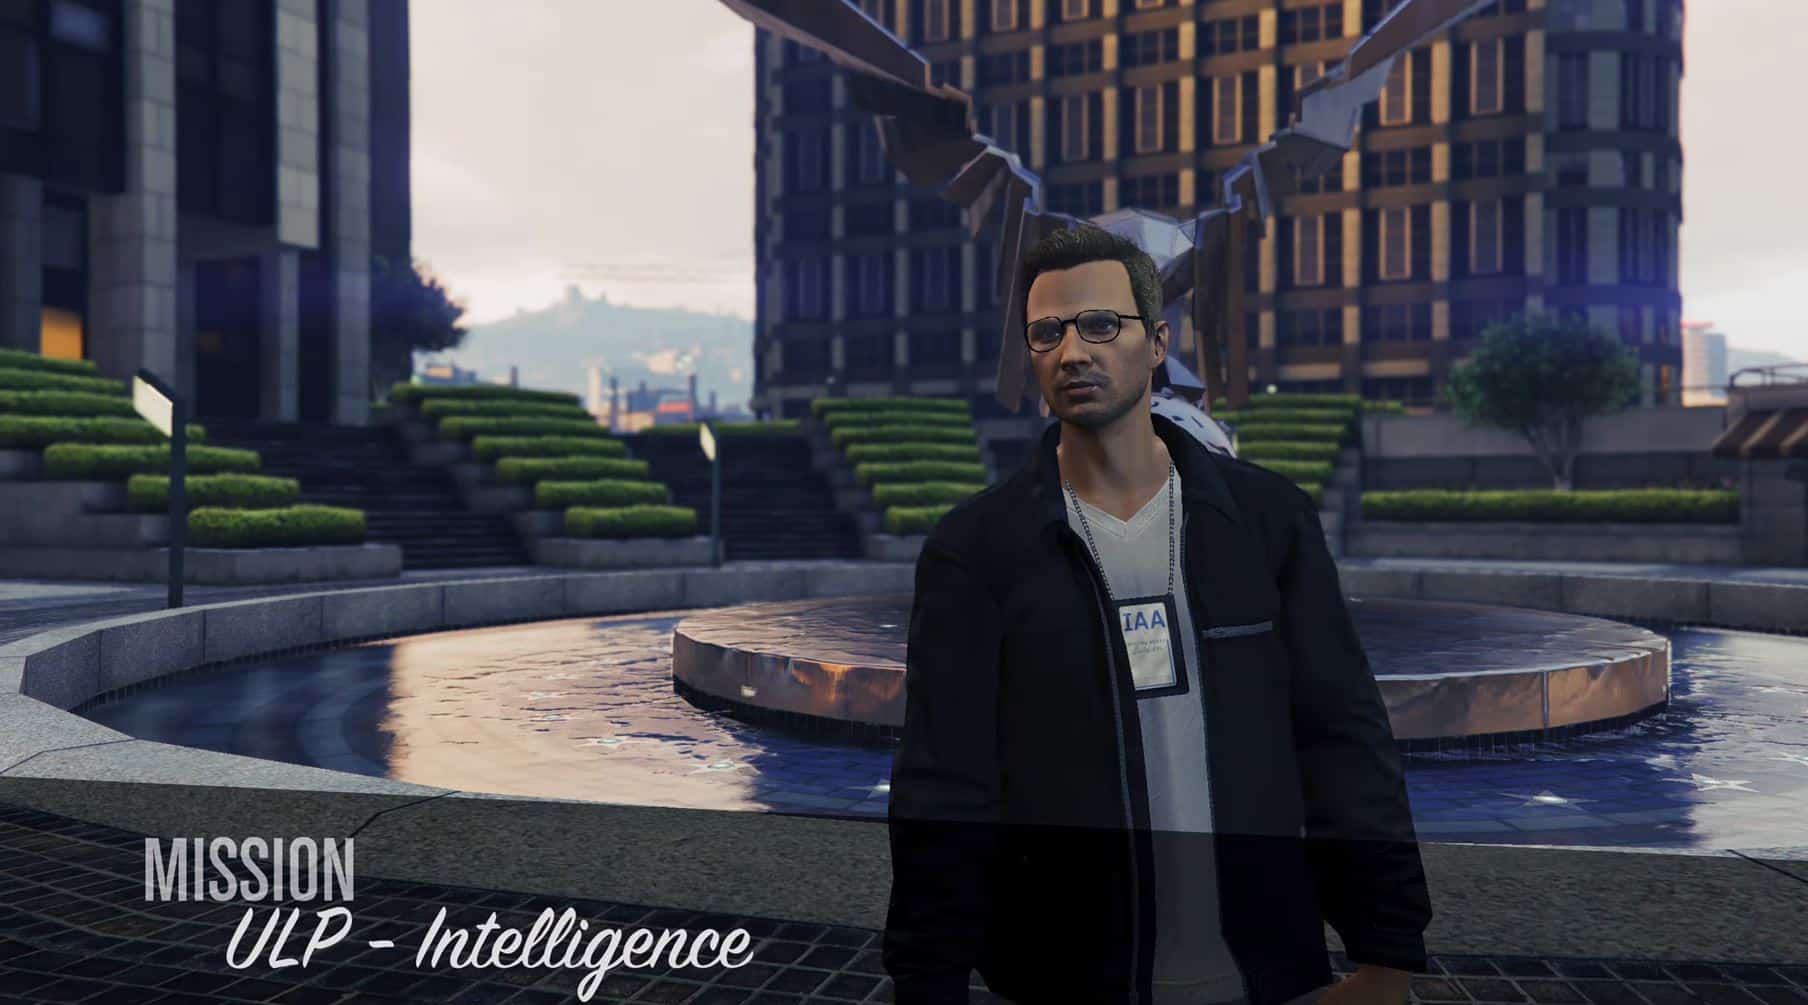
Before getting you onboard for your first assignment, Bernard hastily puts you through the proper procedure of being inducted as a special field operative – that means taking the oath of service.
Go to San Andreas Avenue
Regardless, after the oath, you are given an earpiece through which Bernard will communicate with you; thus, you are off on your first mission! Bernard starts by giving you a set of coordinates to head over to. Moreover, owing to what he said about filling you in once you are part of the IAA, he begins dissecting the problem at hand and the DLC’s storyline by extension en route.
He begins by talking about the inflation in gas prices (the publicly available fact), and how resolving it is a matter of utmost importance, to the point that the IAA has allocated significant resources towards it. Bernard’s working theory is that the oil inflation is a result of the Duggan Family’s doing (I hope you haven’t forgotten them). However, to prove his theory, Bernard needs to start somewhere, and that somewhere is Mason Duggan’s personal files, owing to how important of a member he is to the family.
As such, you should deduce by now that the coordinates you are heading to converge at none other than Mason Duggan’s lavish apartment!
Hack Mason Duggan’s Computer

Upon reaching Mason Duggan’s apartment, you are to utilize stealth in entering it and finding his personal computer. Since it’s not a laptop, don’t bother scavenging the ground floor and immediately head upstairs into Mason’s room, where you’ll find his PC. Funnily enough, even though Mason is not around, his PC is still running and logged in, which saves you the hassle of bypassing his password – I would never leave my PC running like that unless it’s downloading something large.
Contrary to what I initially thought, you won’t be plugging in a USB and copying all of Mason’s files over to it – instead, you’ll be giving Bernard’s technical team remote access to the computer so that they can dig up any important leads. As such, you are to plug in your phone and run the BruteForce.exe executable file by navigating to “My Computer” and “External Device.” Once running, simply make sure the alphabets of the keyword LONESTAR are selected in the right order, and you are good to go!
Although it is going to take some time for Bernard’s technical team to lay everything relevant bare, they did manage to immediately point out that the FIB is making a deal with the Duggan family over four pieces of hardware at the moment. Moreover, both parties have agreed to two collection points, one at FIB HQ and one at FIB Depot – your next job is to get your hands on them before the Duggans do.
Hardware Retrieval from FIB HQ

While it is up to you which of the two sites you want to tackle first, I like to go for the FIB HQ. The problem, however, is how exactly to get into it with all of its massive security. Luckily, though, Bernard is able to figure out a way in!
Turns out that HQ has contractors frequenting the building under some maintenance project. Do you know what this means? Yes, all you have to do is fake being one of the maintenance workers, and you’re in! Bernard assists you in this by providing you fake ID and uniform on the way to HQ. Ultimately, the infiltration works flawlessly as the guards let you through without worry – it’s time to head upstairs and recover two of the four hardware devices!
Bear in mind that, since you are not supposed to be on the first floor, you will have to take the stealth approach. Although you are not a fan of sneaking around, you can do what I usually opt for – pulling out a pistol with a silencer and wiping everyone on the floor without anyone noticing. Of course, this method requires immaculate execution on a relative scale, but it’ll be a lot faster!
Once the floor is clear, you can easily scavenge the two hardware devices (a tablet and handheld storage, kind of like a USB) and make your way out of the building!
Hardware Retrieval from FIB Depot

Next stop: the FIB Depot – while the place is not as heavily secured as the headquarters, it does have some level of security in the form of alarms. As such, it’s not that easy to the point that you can just waltz in there and walk out. Although there are only two of them, you must shoot down the fuse boxes installed on the depot’s exterior in order to disable the alarms and secure flawless infiltration.
Once inside, whip your flashlight out and adhere to the area’s right side. Don’t forget that you are looking for a hard drive and a VR Headset; both placed on two separate desks housing a triple-monitor setup. One of the desks is in front of the red crate, while the other is towards the end of the room, close to the huge “B1” imprint on the wall. Once you’ve retrieved both hardware devices, simply make your way out – it was pretty easy, right? This is why I started off with the HQ before guiding you to the depot.
Deliver the Hardware to the Drop Off
Now that you have all four pieces of hardware safe from Duggan hands, you are to make your way to Bernard’s drop-off point at the Los Santos International Airport. The mission will be complete upon safe delivery, and now Bernard has all the pieces he needs in order to spill the beans and work his way towards what the Duggan Family is up to!
Mission #2: Counterintelligence

At this point, I hope you aren’t ignoring any of the aftermaths of the previous mission. You essentially disrupted a deal between the Duggan family and the FIB by stealing their goods from under their noses – it’s only realistic to assume that they’ve caught a whiff of this because they, in fact, have. As such, with the FIB on your back, it’s integral to leverage something against them so that Bernard can get some room to continue his investigation.
Hack Two FIB Surveillance Drones

After the fiasco you and Bernard put up in the last mission, the FIB is now closely watching your every move by deploying surveillance drones across the city. As such, Bernard suggests hacking into a few of those drones to pinpoint the central server controlling them all, hoping to shut it down to resume the investigation.
Therefore, a drone’s location will be marked on your map – you are supposed to enter its range (indicated by a translucent yellow circle) and remain in it while Bernard hacks into it. Of course, since the drone will be moving, you will have to move along with it to stay within the hacking range. After the hacking is done, another drone will be marked on your map, and you will have to deal with it in a similar fashion.
Go to the Motel
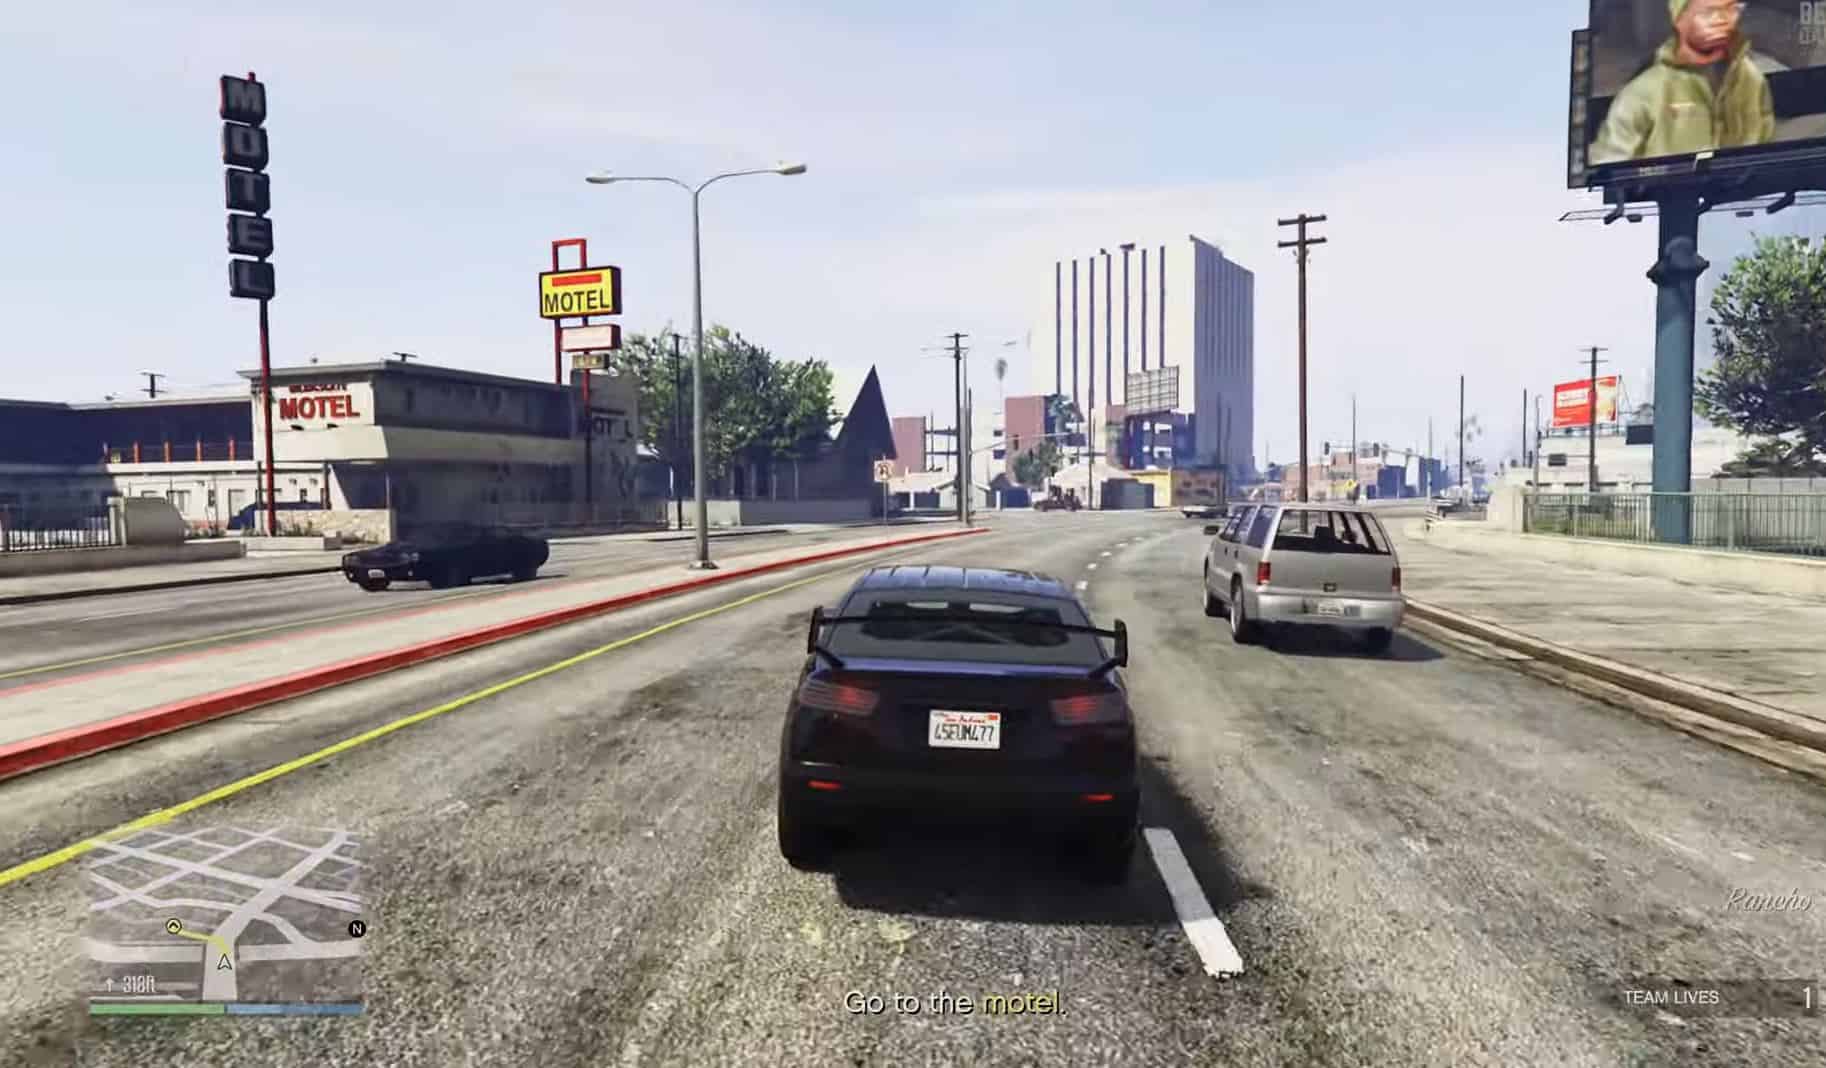
Bernard’s hacking reveals that the drones are being controlled by a motel computer. He brings up the location on the minimap for you to track down and get to the bottom of. However, even though he does caution you before entering the room, things go south through two plot twists.
First, the room is empty, signaling that the coast is perhaps clear – but as you make your way to the laptop and begin to meddle with it, it sets off an alarm that fills the room with sleeping gas. In a dramatic twist of events, you pass out with Bernard screaming in your earpiece to report in!
Defuse the Bomb
You wake up inside a FIB van, strapped to a bomb behind the driver seat that is set to blow up in the next six minutes – pretty pleasant, right? Don’t worry, because you’ll get through it all just fine – after all, Bernard, who has always been the saved, will actually be the savior for once now! He’ll brief you on the situation and how the FIB plan to get rid of you by blowing you up in one of their own vans and publicly dismissing it as an accident.
As you begin to defuse the bomb, Bernard will guide you through what to do. According to one of his explosive experts, you are to guide the laser beam towards destroying the blue packets whilst leaving the red ones alone. While this isn’t as simple as just cutting a blue wire, it is quite doable in the six minutes you have. Good luck, and stay calm!
Deliver the Van to the Drop Off

After the bomb is defused and you scoot over to the driver’s seat, you’ll quickly notice that the police surround you. Yes, it’s all part of their act of “making it look like one of their field ops went bad,” but little do they know that you’re about to waltz right out of there! Your final task will be to get out of there, lose the cops and return to Bernard safely with the van intact.
It is extremely important that the van does not blow up because it will serve as potentially incriminating evidence against the FIB that will prevent them from interfering with the investigation. Good work!
Mission #3: Extraction
With the FIB off your back, for the time being, it’s time to resume the investigation! Just when you think about getting your next easy assignment, Bernard hits you with something urgent. Apparently, one of his subordinates, Agent Johnson, who had infiltrated the Duggan Family in order to dig deeper into their operations, has not reported in for the past 24 hours. Indicative that she most likely stumbled upon some confidential information, it is your top priority right now to recover her and her report.
Go to Agent Johnson’s Garage

Agent Johnson’s Garage over at Hawick is the first place Bernard tells you to look for clues. Once inside, you are to scan the plan for any hints towards Agent Johnson’s whereabouts – but allow me to oversimplify the task for you and tell you what to do. Spoiler alert: you are supposed to interact with the Agent’s Primo Custom and get inside of it to retrieve her recent GPS locs.
This will highlight three different GPS locations on your minimap – as you may have guessed by now, Agent Johnson is most likely at one of them. It will be a rather long drive, so pop some music and enjoy the drive! Don’t forget that you can drive the Agent’s Primo Custom too.
Finding Agent Johnson

Fortunately, you don’t have to go to each area and scan every inch of the place in order to find Agent Johnson tied up somewhere. Instead, Agent Johnson’s presence in any of the three areas indicates that an intense gang shootout will be going on by the time you arrive at the location.
When you come across such a location, Agent Johnson will be in the middle of it all, fighting both the Duggan officials and Marabunta Grande simultaneously. Fight your way through the enemies and position the car near her so that you both can flee the scene before the cops arrive.
Hospital, not IAA Headquarters

Unfortunately, as you exit the extremely hostile area, the local police catch whiff of it and begin chasing you as a potential accomplice involved in the gang fight. As such, you are supposed to lose the cops and safely escort Agent Johnson to IAA Headquarters – at least, that’s what Bernard tells you to do.
As you’re fleeing from the police, Agent Johnson will begin to fill you in on what happened. According to the intel she gathered, the Duggan family is collecting complex hardware from the FIB to build a next-gen piece of technology that can manipulate the world’s economy, including gas prices. If you’re curious to learn more, then I hate to break it to you, but the briefing stops here – you’ll be able to learn more in the next mission, so make sure to clear this one!
However, once you lose your wanted level, Agent Johnson will start to feel unwell and request you to take her to the nearest hospital. Of course, this will be a relatively quiet trip; once you drop her off, the mission will end.
Mission #4: Asset Seizure
Agent Johnson’s contribution to the investigation was integral, and the risky infiltration paid off immensely. After all, she uncovered that the Duggans have been using a hyper-advanced neural network (a very powerful AI in layman’s terms) to manipulate the global oil market by strategically creating ripples in supply, demand, and stocks in order to get their desired result.
However, her contributions do not end there – she has also reported that the Duggans, in light of recent events, has decided to move their tech to a new location through a van to which she has attached a secret GPS device! Does Agent Johnson deserve the MVP reward for this DLC? Absolutely! Regardless, now you know what to do – intercept that van and steal the Duggan family’s most prized project.
Take Out the Interfering Antennas

Even though Agent Johnson went through the hassle of implanting a tracking device on the Duggan van, the Duggans are professionals themselves. Turns out that they’ve jammed the signals in the general area surrounding their van’s route – knowing that there was a spy amongst them not too long ago trying to sabotage their operation, it is fair for them to assume that said spy left some kind of tracking device behind. What’s more, they’ve tightened the security around these antennas to prevent anyone from destroying them. However, the one thing that they’ve failed to account for is that you, the protagonist, are a one-man army!
Bernard informs you of the location of all five antennas jamming the GPS signal, marking them on your minimap for you to destroy. These are the locations of all five of them and how I would recommend taking out each one:
- One is located on the blue building behind the Bishop’s Chicken outlet on Davis Avenue: It is quite visible from long distances, so I recommend taking the easy route and destroying it with a sniper rifle. So much for tight security, am I right?
- One is located on top of a factory on supply street: You will most likely have to engage with the enemies surrounding it, but you can minimize combat by a well-aimed RPG shot.
- One is located near the Vinewood Plaza on Spanish Avenue: You will need to get close, which, although dangerous, will give you a clear shot at the antenna with an RPG.
- One is located on the very rooftop of Hookah Palace on Vespucci Boulevard: This will be tough as you will need to climb all the way up (taking the ladder at the back) and fight your way to the antenna. Be prepared because even a helicopter will eventually pull over to gun you down!
- One is located on top of the Puerto Del Sol Yatch Club over at Palomino Avenue: Even though the place is quite expansive, the antenna is easily visible from the entrance. Pull out your RPG or Sniper Rifle and fire away!
Steal the Van and Deliver It

Once all five antennas are down, the van’s location will become clear as day on your minimap – it’s all downhill from here. Simply chase it down (remember that it is slow), kill the driver inside, and hijack it – now you’ll need to deliver it to Bernard’s team.
Easy does it, right? But of course, there’s no way the Duggans are going to let you make off with their biggest project just like that! They’ll chase you ferociously and try to stop you, but you don’t need to engage – just get the van to the marked yellow location without blowing it up!
Mission #5: Operation Paper Trail
With the Duggan’s AI technology contained and in good hands with the IAA, we can close the case, right? No, as is indicated from Bernard’s debrief the following morning. It’s not so hard to understand that the Duggan family had a real score on their hands, one that brought them gigantic benefit – but with that benefit gone, surely they would at least try to get it back somehow, right? While they can’t launch a full-scale operation against a giant like the IAA, they can try to rebuild, and that’s exactly what happens.
The Construction Site of Mile High Club

Bernard catches a whiff of the Duggan family’s effort to rebuild their AI software by starting from scratch and purchasing special hardware from the FIB. Sure, you just averted a national crisis, but you wouldn’t want it to happen again, right? Of course, which is why Bernard tracks down the location of the deal over at Mile High Club, the famous to-be skyscraper that’s been under construction for quite some time. Get over there, stat!
However, at this point, your interference is kind of expected from the Duggan family’s viewpoint – you’ve single-handedly sabotaged their biggest operations, after all. As such, the level of security around the perimeter is tight, and rushing in without a plan or a clear idea as to where the target is, is a suicide mission.
Infiltration Turned Chaos

Bernard scopes out the area with you through the surveillance drone hack you both developed in the mission “Counterintelligence,” revealing that the deal is taking place on the topmost floor. With the target in sight, it’s time to infiltrate and say hello to Mason Duggan, the man spearheading the entire deal!
But before you go in guns blazing, it’s important to know what to expect. The area is divided into three levels:
- The first level is getting into the construction site itself by taking the elevator. However, the elevator is locked behind privileged access, obtainable only through a key card. While you may not have such a card on you at the moment, you can always take out the henchmen on the ground and steal it from them. Make sure to lay low and use suppressed firearms.
- The second level is accessed after taking the elevator with a key card. It’s no surprise that enemies will be littering the area, but bear in mind that they have not yet been alerted of the disturbance you created on level 1. So keep up the good stealth work and make your way to the far end of the platform, where another elevator awaits.
- The third and final level is where things get a little chaotic – after all, this is where the deal is going down, right in front of your eyes. Furthermore, everyone on this level has been notified about your infiltration; so, with your cover blown, it’s time to start pumping bullets and canceling the deal by any means necessary!
Recovering and Delivering the Briefcase

As you clear out the top level, slowly advancing towards Mason Duggan and his briefcase of precious hardware, he’ll make a run for it in his helicopter. You must go after him, and since there aren’t any spare helicopters nearby, I’d suggest just parachuting off the site and stealing a random car on the road.
Continue following Mason until he lands on top of the Maibatsu Factory on Supply Street. From here, it’s rinse and repeat – fight through his henchmen, kill Mason Duggan and retrieve the case. Don’t forget that both the Duggans and FIB are on you right now, so don’t waste a lot of time-fighting off additional waves and simply make your way to Bernard’s drop-off point to complete the mission.
Mission #6: Cleanup

You’ve done away with the Duggan Family’s AI technology and killed Mason Duggan, the man behind it all – all should be good now, right? Not exactly. Since the Duggan Family constructed their AI from remnants of Cliffford, Avon Hertz’s neural network mastermind, it’s not that far fetched to assume that some other ambitious group would try to do the same thing all over again. After all, Cliffford’s data remains, although contained under the IAA, over at Mount Chilliad.
Going to Mount Chilliad

Even though the IAA protect Cliffford’s remains, Bernard decides it is better to destroy those remains while, of course, keeping a backup physically with themselves to undo the oil inflation. As such, you are assigned to your final assignment, which involves erasing all of Cliffford’s data at Mount Chilliad and bringing back a copy of it on your phone. Sound easy enough, right? Don’t forget that this is the final mission!
Juggernauts Are Back!

As you enter Mount Chilliad on the IAA Helicopter Bernard supplies you, you will greeted by your first sub-objective upon infiltrating the facility. Essentially, the area’s power supply is out, and you are to reset the breakers as a result (after installing a new quad of fuses). You can start looking for the servers only when the lights are back on.
However, on your way to the servers, you’ll come across deactivated Juggernauts – the same annoying ones from the Doomsday Heist! I’d recommend filling their heads with lead because they’ll be (spoiler alert) waking up soon. When exactly, though? Well, they’ll spring back into action as soon as you wipe out Clifford’s first set of servers.
The Grand Escape

After all the servers have been wiped out, the Juggernauts will still be on your trail. However, fortunately for you, you don’t need to take out all of them, as the objective will simply signal you to escape the facility the same way you came in. Even then, what’s on the other side won’t be all that pleasant as Rockstar has prepared a final surprise for you!
As you exit the facility, you’ll be surrounded by armed forces that formerly worked under Clifford during the Doomsday Heist – nostalgic, isn’t it? Your final objective will be to parachute down the mountain and make your grand escape before finally getting paid! Good luck, agent!
FAQs
Question: Why did the Duggan family cause oil inflation?
Answer: The Duggan Family are petrochemical giants and, as such, caused oil inflation to maximize their own profits.
Question: What was Cliffford?
Answer: Clifford was a neural network that was programmed by Avon Hertz, which served as the main antagonist and mastermind behind the Doomsday Heist.
Question: What is the best mission in the DLC?
Answer: I have to say – the final mission was probably the best mission in the DLC. This is primarily because it comes off as a simple, easy mission (as the name “Cleanup” implies) but quickly escalates into some interesting puzzle-solving and blockbuster-level action!